Keep in mind that the quality and taste of the finished dish largely depends on the proper defrosting of the fish.
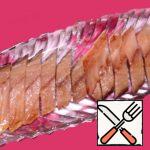
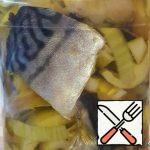
The fish turned out to be delicious and quick to prepare. I salted it in the evening, and it was ready to eat by the morning. Personally, I prefer this method over salting a whole fish.
When preparing fish, never defrost it completely if you plan to cut it up. It’s best to place it on the bottom shelf of the refrigerator and bring it to a slightly defrosted state. This way, any cutting or filleting will be much easier to handle. Fully defrosted fish, when butchered, can become a shapeless mass.
For cooking, it’s advisable to use filtered or bottled water with a neutral taste. If you opt for tap water, be aware that it can impart an unpleasant flavor to the dish.
 Mustard “Triple” on Cabbage Brine Recipe
 Mackerel in Cranberry Marinade Recipe
 Vanilla Cake with Chocolate Pieces Recipe
 Riyet from Baked Mackerel with Capers Recipe
 Dried Mackerel Recipe
 Mackerel under Marinade Recipe
 Marinated Mackerel with Soy Sauce and Tomatoes Recipe
 Mackerel Rolls with Rice and Buckwheat Recipe
 Salted Mackerel Recipe
 Sandwiches with Mackerel and Spiced Apple Recipe
 Pie with Mackerel, Spinach and Cottage Cheese Recipe
 Cream Fish of Mackerel Recipe