Related posts:
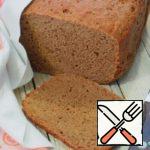 Rye Bread Recipe
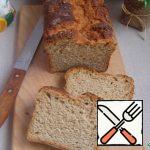
 Tomato Wheat-Rye Bread with Black Pepper Recipe
 Rye Bread on Yogurt Recipe
 Wheat-Rye Bread “For the Holiday” Recipe
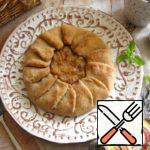 Wheat and Rye Galette with Potatoes Recipe
 Australian Vegetable Bread Recipe
 Bread with Garlic Arrows Recipe
 Crunchy Danish Bread “Tiger” Recipe
 Rye Galette with Apples and Cinnamon Recipe
 Apple Pie with Cranberries on Rye Flour Recipe
 Rye Tartlets with Carrots Recipe
 Salad with smoked Mackerel and Rye Bread Recipe