Related posts:
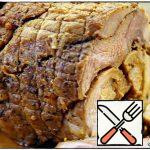
 Brisket “Fire” Recipe
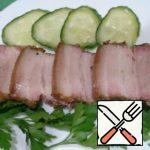
 Smoked-Boiled Brisket Recipe
 Meat with Orange Recipe
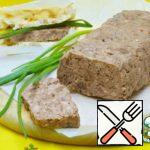
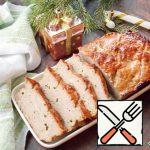 Meat Bread is Almost Bavarian Recipe
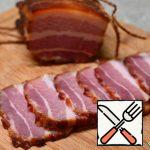
 Spicy Brisket Recipe
 Pancakes Stuffed with Herring and Avocado Recipe
 Terrine of Four Types of Meat Recipe
 Terrine of Meat Platter with Liver Recipe
 Meat Pudding with Eggplant Sauté Recipe
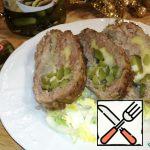
 Meat Snack Roll with Vegetables Recipe
 Minced Meat Roll “Homemade” Recipe
 Meat Souffle with Mustard Sauce Recipe