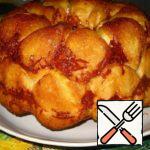
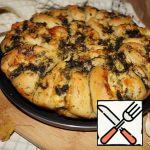
Bread with Garlic Arrows Recipe
Last summer, when I brought another harvest of garlic arrows from the cottage – I thought about it – well, what else can I cook with them – fried eggs with fried arrows are already tired, in soup, in soup, and in general I will definitely add to soups… but it will help… and that’s why you want some fresh baked goods with garlic… And then I started to dig into their cookbooks, but, not finding anything significant, I realized that I could not do without the Internet, and began to look at websites. My attention was attracted by the recipe for bread with garlic – I slightly adjusted it to my needs, and a delicious fragrant wreath turned out! It turns out extremely tasty and lush! I think the recipe is perfect for those who like to cook garlic rolls for the future, and those who have such stocks, still just try it with garlic!
 Chicken Fritters with Garlic Arrows Recipe
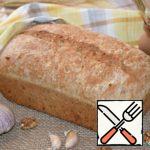 Garlic Bread with Herbs and Nuts Recipe
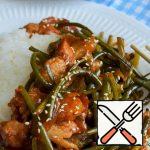
 Asparagus Beans with Garlic Arrows Recipe
 Bread with Cheese and Garlic Recipe
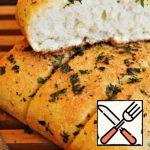
 Garlic Bread with Herbs Recipe
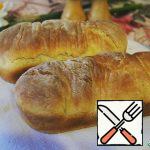
 Homemade Garlic Bread Recipe
 Lean Garlic Bread on Semolina Recipe
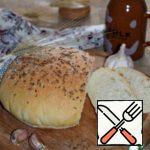
 Homemade Bread with Dill and Garlic Recipe
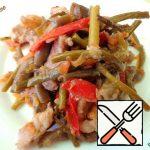
 Pork with Garlic Arrows Recipe
 Bread with Cheese and Garlic Recipe
 Azu with Garlic Arrows Recipe
 Pork with Garlic Arrows Recipe