Now let’s prepare the spices for our ham.
For one kilogram of meat, there are 4 grams of ready-made spices. We get 1250 gr = 5 g
At my own risk, I added paprika and added 3 grams of dry garlic (which I did not regret a gram!)
By the way, there is a recipe for its (garlic) cooking on our website, if I find it, I will give a link under the large photos.
Salt – 2% or 20 g per 1 kg of meat. I added only 20 grams, because I cook from poultry.
The chef used 10 g of table salt + 10 g of nitrite salt, I used only table salt!
Water, according to the rules, is 100 g per 1 kg, but considering that we buy meat wet, we reduced it on the advice of the chef to 50 g per 1 kg of meat.
The weight of meat is any, how much meat you take – so much you will get ready ham.
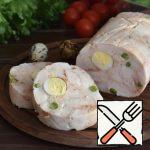
 Chicken Ham with Turkey and Cheese Recipe
 Homemade Turkey Ham Recipe
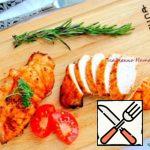 Chicken Pastrami Recipe
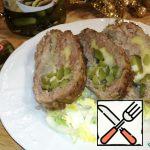 Minced Meat Roll “Homemade” Recipe
 Chicken and Pork Terrine with Apple Recipe
 Chicken Pastrami in a Saucepan Recipe
 Canapes with Red Caviar on Homemade Cheese Crackers Recipe
 Vegetable Terrine with Ham Recipe
 Quiche with Ham and Broccoli Recipe
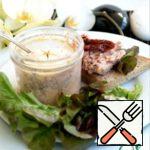
 Pork and Chicken Liver Terrine Recipe
 Chicken Terrine with Pistachios Recipe
 Pie with Chicken, Ham and Broccoli Recipe