Related posts:
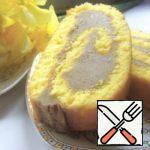
 Biscuit Roll “Fantasy” Recipe
 Biscuit Roll with Halva Recipe
 Biscuit Waffles Recipe
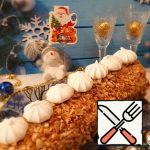
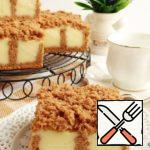
 Biscuit Cake “Festive mood” Recipe
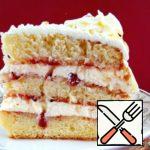
 Biscuit with Coffee Parfait and Meringue Cream Recipe
 Chocolate Fondue with Cottage Cheese Biscuit and Fruit Recipe
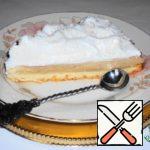
 Meringue Roll with Lemon Cream Recipe
 Biscuit with Vanilla Pudding Recipe
 Roll with Chocolate-Curl Recipe
 Roll “Red Velvet” Recipe
 Chocolate Roll without Flour and Sugar Recipe
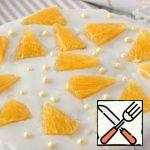 Orange Biscuit with Dried Apricots Recipe