| Prep Time | 5 minutes |
| Cook Time | 20 minutes |
| Servings |
|
- 550 milliliters Milk
- 3 pieces Eggs
- 3.5 tablespoon Wheat flour / Flour
- 200 gram Sugar
- 120 gram Butter
- 10 gram Vanilla sugar
Ingredients
|
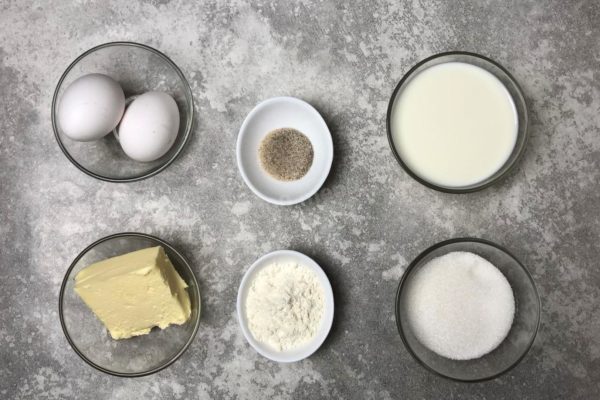
- How to prepare a traditional custard? Gather the ingredients you'll need. The amount of sugar provided is a moderate guideline; you can adjust it to your taste, ranging from 170 to 230 grams, depending on your preferences and what you intend to pair the custard with. Choose the highest quality butter for a thick and creamy result. This quantity of ingredients will yield enough custard for one cake, based on two eggs.
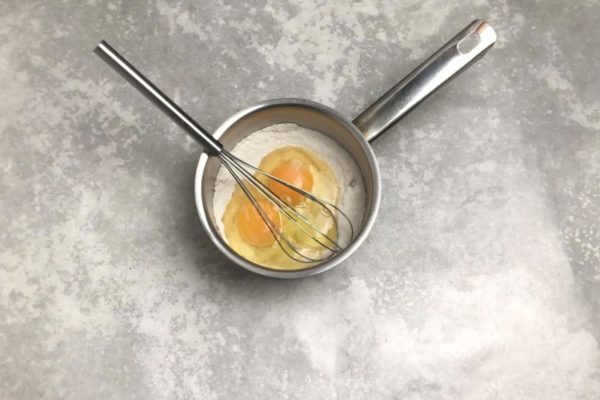
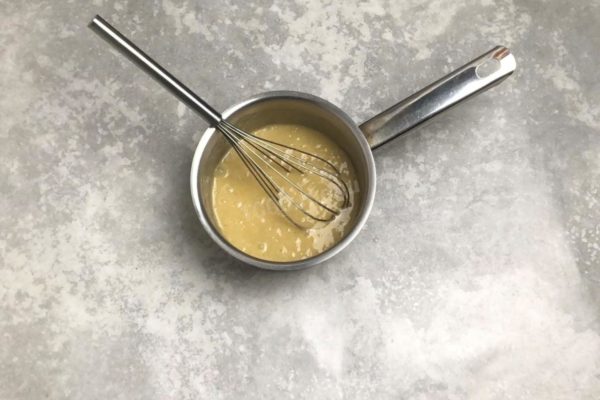
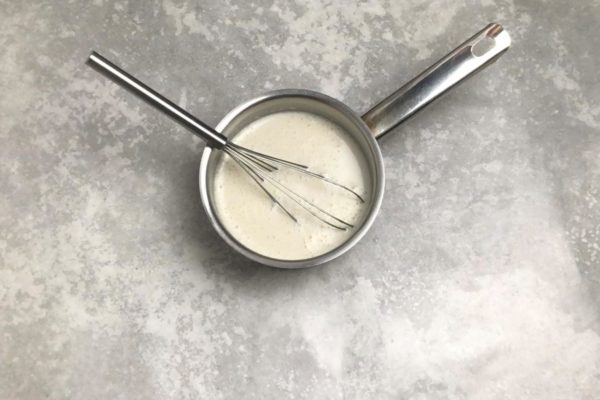
- Select a saucepan with a thick bottom. This is crucial because the custard base contains eggs, which can easily overcook and curdle. A thick-bottomed saucepan ensures even and gradual heating, reducing the risk of burning. Combine granulated sugar, vanilla, and flour in the saucepan, then mix these dry ingredients together. Crack the eggs into the mixture.
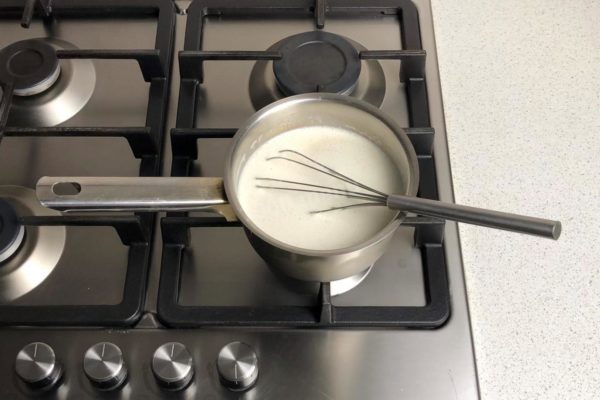
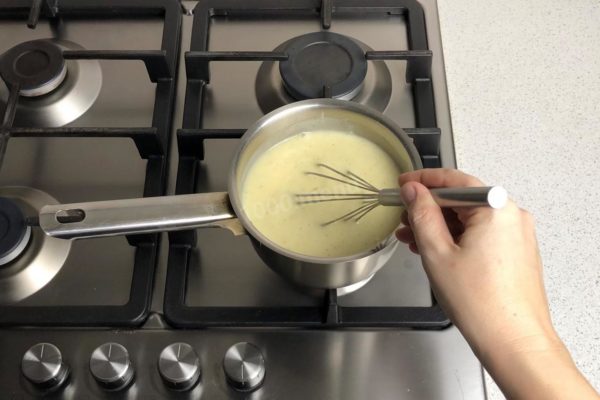
- Place the saucepan over low heat. If you're unsure or don't have much experience, consider using a double boiler to cook the custard. This will extend the cooking time but prevent burning and curdling. I made the custard without a double boiler. A helpful tip is to keep the heat on the lowest setting and stir the custard constantly with a whisk to prevent issues.
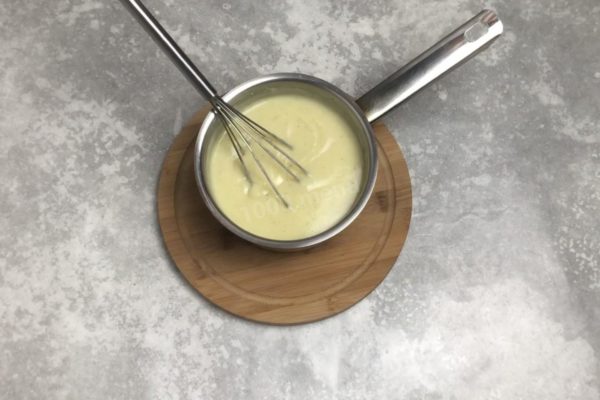
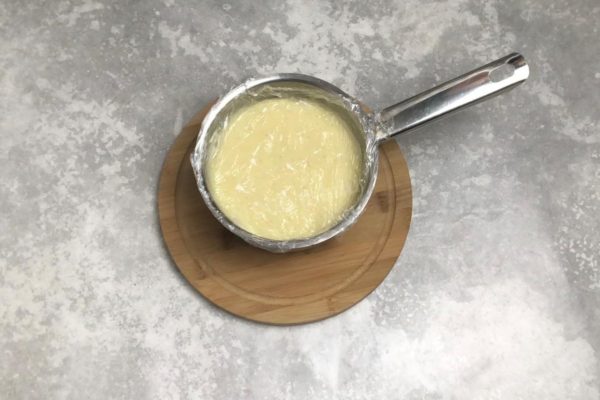
- Let the custard cool to room temperature. It's essential to cover the custard with plastic wrap, ensuring it touches the surface directly. This prevents the formation of a thick crust on the custard as it cools. Refrigerate the custard for at least 2 hours to chill and thicken fully. If you plan to use the custard for a cake, you can spread it between the layers while it's still warm and then refrigerate the cake.
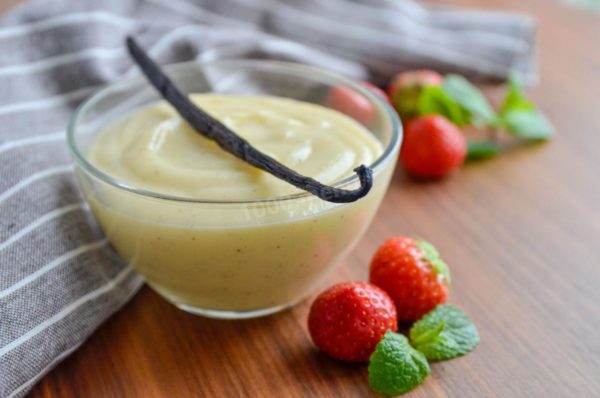
Custard is my absolute favorite cream. It's incredibly delicate, not overly sweet, and it soaks into cake layers perfectly. If you ask me, I'd even consider adding more butter to the cake filling. Plus, this cream is delightful to enjoy on its own.
When it comes to determining the freshness of eggs, there's a simple test. Crack the egg into a separate container, and the first thing to note is that there should be no unpleasant odor. Fresh eggs will have a clear and clean egg white, while the yolk should hold its shape, appearing shiny, plump, and uniform.
Don't forget to wash your eggs before using them, as even seemingly clean eggshells may harbor harmful bacteria. It's best to use food-safe detergents and a brush for thorough cleaning.
Important! To ensure your custard turns out just right, follow these straightforward rules:
Allow the cream base to thicken during cooking (whether you're using flour or starch as thickeners, ensure they are properly cooked, while making sure the mixture doesn't burn or form lumps).
The cooked mixture must cool down sufficiently. If you add butter to a hot mixture, it will melt, affecting the texture of the cream.
Opt for high-quality butter for the cream. Low-quality butter can negatively impact the cream's consistency, making it too runny.
