Print Recipe
Nuts With Boiled Condensed Milk on Gas
Classic, simple, but very tasty! Such nuts with boiled condensed milk do not need to be introduced. My hazelnut uniform is older than me, so to speak, inherited. Cooking them is easy and fast, children can be connected to the process of modeling and filling with stuffing.
Prep Time 10 minutes
Cook Time 2 hours
Servings
Ingredients
Prep Time 10 minutes
Cook Time 2 hours
Servings
Ingredients
Instructions
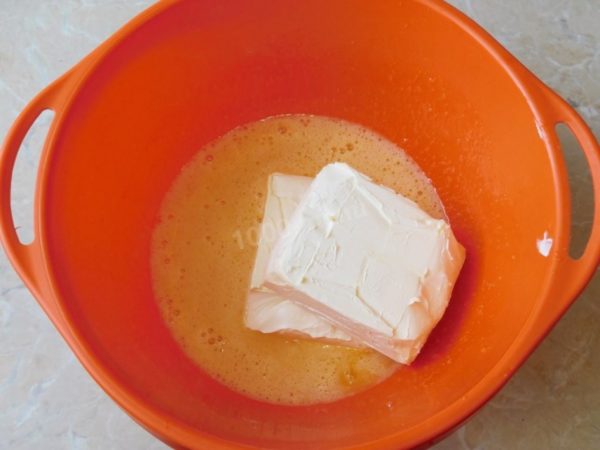
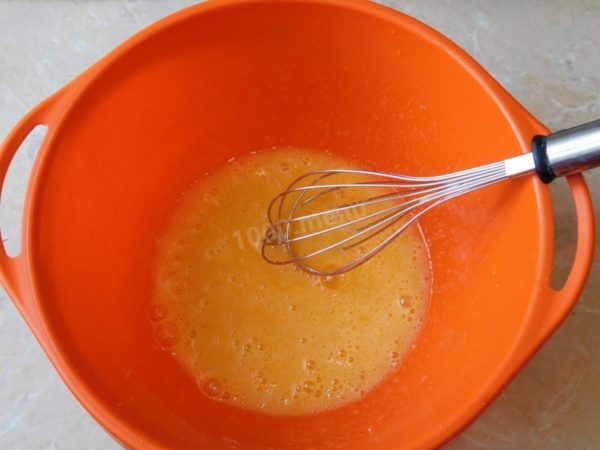
  1. How to make nut-shaped cookies with boiled condensed milk? Gather all the necessary ingredients beforehand. Ensure that the butter is soft. Combine raw chicken eggs and sugar in a mixing bowl and give them a good mix. There's no need to beat the egg mixture; simply combine them.
    How to make nut-shaped cookies with boiled condensed milk? Gather all the necessary ingredients beforehand. Ensure that the butter is soft. Combine raw chicken eggs and sugar in a mixing bowl and give them a good mix. There's no need to beat the egg mixture; simply combine them.
  2. Now add the softened butter to the mixture. Be sure to have the butter at room temperature in advance. Leave it out on the kitchen counter to soften the evening before.
    Now add the softened butter to the mixture. Be sure to have the butter at room temperature in advance. Leave it out on the kitchen counter to soften the evening before.
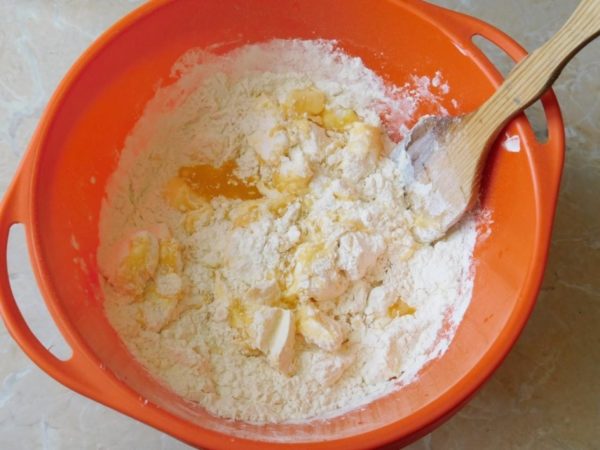
  3. In your mixing bowl, break the softened butter into pieces using a fork, and then add baking soda and gradually incorporate the flour. Initially, you can mix the dough with a wooden spatula.
    In your mixing bowl, break the softened butter into pieces using a fork, and then add baking soda and gradually incorporate the flour. Initially, you can mix the dough with a wooden spatula.
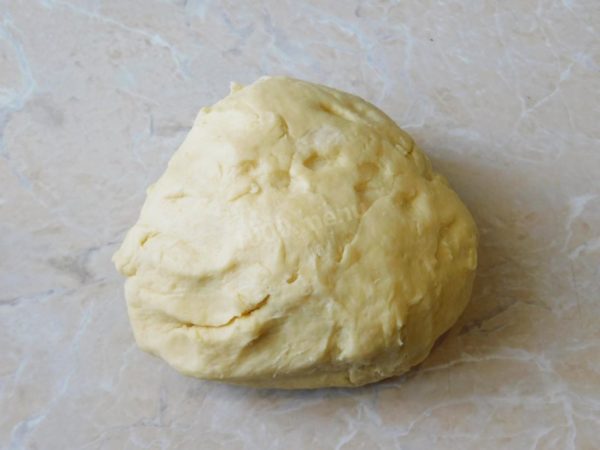
  4. Continue kneading the dough by hand until it no longer sticks to your hands. You don't need to knead it for an extended period. As soon as it has absorbed the additional flour and no longer sticks, stop kneading. Over-kneading can result in a very dense and dry finished product.
    Continue kneading the dough by hand until it no longer sticks to your hands. You don't need to knead it for an extended period. As soon as it has absorbed the additional flour and no longer sticks, stop kneading. Over-kneading can result in a very dense and dry finished product.
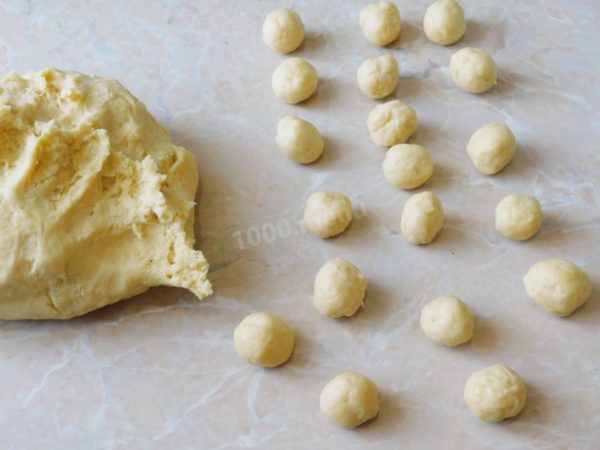
  5. Pinch off small balls from the prepared dough, slightly smaller than a walnut. It's convenient to roll out many balls at once and then start baking them. The key is to put the right number of balls into the mold all at once.
    Pinch off small balls from the prepared dough, slightly smaller than a walnut. It's convenient to roll out many balls at once and then start baking them. The key is to put the right number of balls into the mold all at once.
  6. You'll need a specialized mold for making nut-shaped cookies on a stovetop. Preheat it thoroughly. It's a good idea to warm up the mold before you begin kneading the dough, as it can be quite thick and take some time to heat up. Despite the presence of butter in the dough, make sure to grease the mold generously with vegetable oil before using it for the first batch. Place the dough balls in one half of the mold and press the other half on top.
    You'll need a specialized mold for making nut-shaped cookies on a stovetop. Preheat it thoroughly. It's a good idea to warm up the mold before you begin kneading the dough, as it can be quite thick and take some time to heat up. Despite the presence of butter in the dough, make sure to grease the mold generously with vegetable oil before using it for the first batch. Place the dough balls in one half of the mold and press the other half on top.
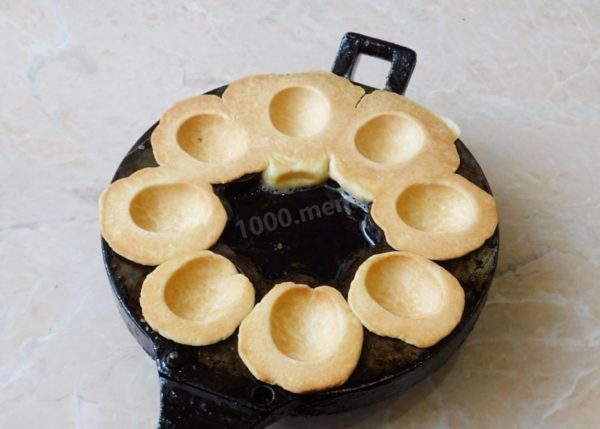
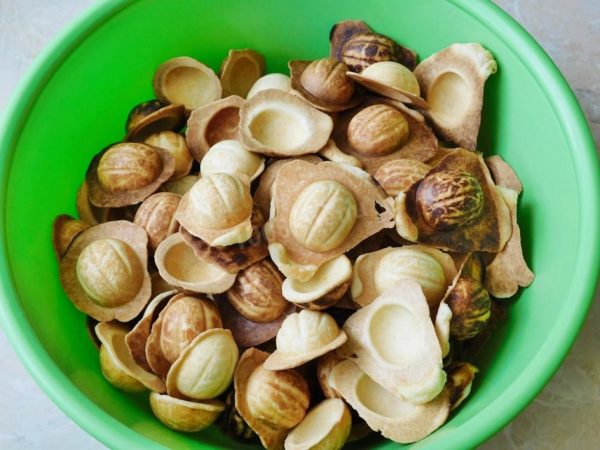
  7. Place the dough-filled mold over the stovetop and cook the cookies on both sides, occasionally flipping the mold over to cook one side or the other. Transfer the finished cookie shells to a bowl to cool down, making sure not to let them burn.
    Place the dough-filled mold over the stovetop and cook the cookies on both sides, occasionally flipping the mold over to cook one side or the other. Transfer the finished cookie shells to a bowl to cool down, making sure not to let them burn.
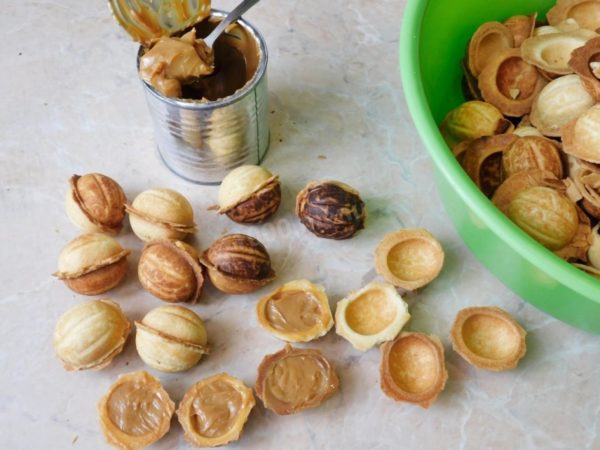
  8. Once the cookie shells are completely cooled, it's time to fill them. Boiled condensed milk works best as the filling. Fill both halves of the cookie shells with the filling and press them together. Condensed milk is ideal for this purpose.
    Once the cookie shells are completely cooled, it's time to fill them. Boiled condensed milk works best as the filling. Fill both halves of the cookie shells with the filling and press them together. Condensed milk is ideal for this purpose.
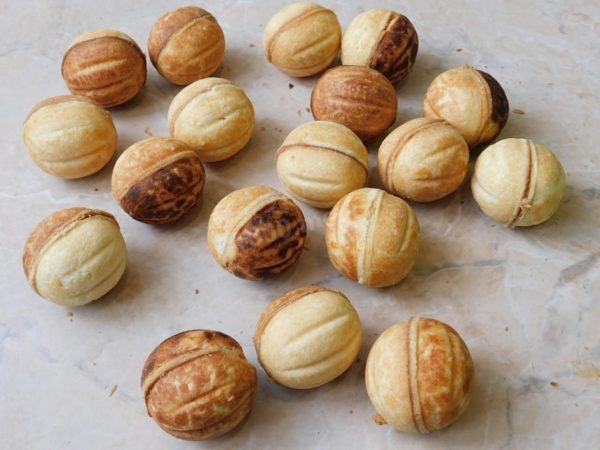
  9. Use a sharp knife to trim the edges of the cookie shells and remove any excess dough. Your delicious nut-shaped cookies with condensed milk are ready! Enjoy them with a nice cup of tea!
    Use a sharp knife to trim the edges of the cookie shells and remove any excess dough. Your delicious nut-shaped cookies with condensed milk are ready! Enjoy them with a nice cup of tea!
Recipe Notes

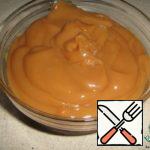
I always make my own boiled condensed milk. To do this, fill sealed jars with regular condensed milk, add water, and bring it to a boil. Simmer for 2 hours, adding hot water if necessary. A slow cooker is convenient for this purpose. It's advisable to plan ahead and make the boiled condensed milk the day before or a few days in advance.

Be prepared for the fact that you may need more or less flour than indicated in the recipe. Focus not on the amount of flour, but on the desired consistency of the dough.

Ensure that you wash the eggs thoroughly before use, as even apparently clean shells may contain harmful bacteria. It's best to use food-safe detergents and a brush for this purpose.

0 0 votes
Article Rating
Subscribe
Notify of
guest
0 Comments
Oldest
Newest Most Voted
Inline Feedbacks
View all comments