Print Recipe
Chocolate Eggs "Bird's Milk" Recipe
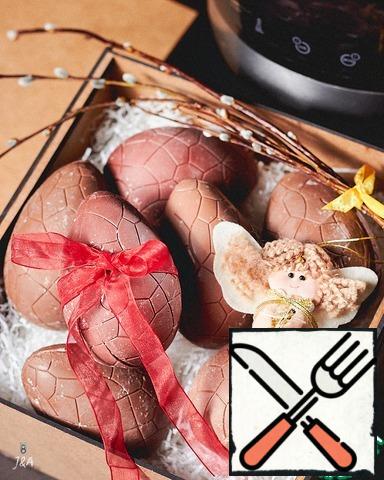
Oh, we love experiments! So we decided to try ourselves as a chocolatier. This is, of course, loudly said, but there is already enough sense in making small things as a gift to friends. And now, at Easter, we decided to please everyone with chocolate eggs with the most delicate bird's milk.
Cook Time 120 minutes
Servings
Ingredients
Cook Time 120 minutes
Servings
Ingredients
Instructions
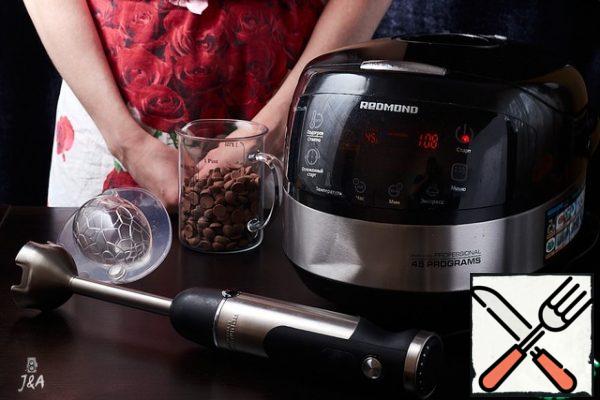
  1. Suitable conditions must be created for quenching. The room temperature should be between 16°C and 22 °C. We opened the balcony. We will also need a blender and a slow cooker. To make chocolate shells, we will need chocolate according to your taste. I chose milk. We need to moderate it. First let's melt the chocolate. In order not to overheat it, it is ideal to use a Redmond slow cooker. In the "slow cooker" mode, set the temperature to 45 ° C and, stirring constantly, melt.
    Suitable conditions must be created for quenching. The room temperature should be between 16°C and 22 °C. We opened the balcony. We will also need a blender and a slow cooker. To make chocolate shells, we will need chocolate according to your taste. I chose milk. We need to moderate it. First let's melt the chocolate. In order not to overheat it, it is ideal to use a Redmond slow cooker. In the "slow cooker" mode, set the temperature to 45 ° C and, stirring constantly, melt.
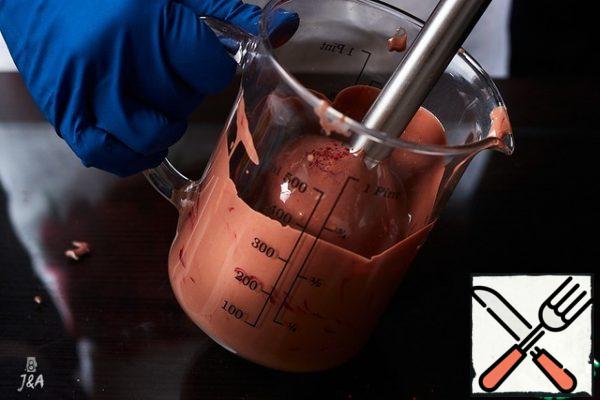
  2. Pour the melted chocolate into a glass. Pour in a food-grade fat-soluble dye. One pinch is enough. Whisk with a blender with a knife attachment.
    Pour the melted chocolate into a glass. Pour in a food-grade fat-soluble dye. One pinch is enough. Whisk with a blender with a knife attachment.
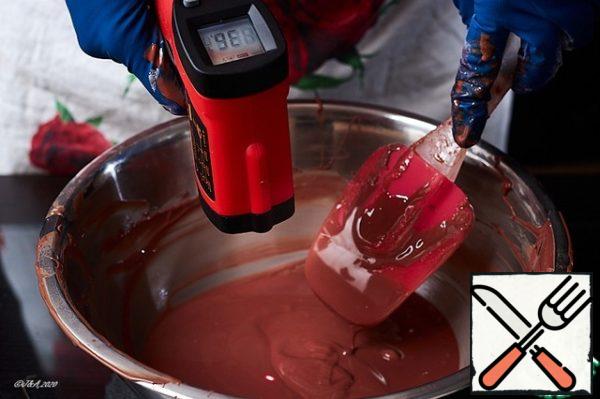
  3. Pour the chocolate back into the bowl. Stirring with the spatulas, bring the chocolate to a temperature of 33 ° C. I measure using an electronic contactless pyrometer. You can buy it at any hardware store.
    Pour the chocolate back into the bowl. Stirring with the spatulas, bring the chocolate to a temperature of 33 ° C. I measure using an electronic contactless pyrometer. You can buy it at any hardware store.
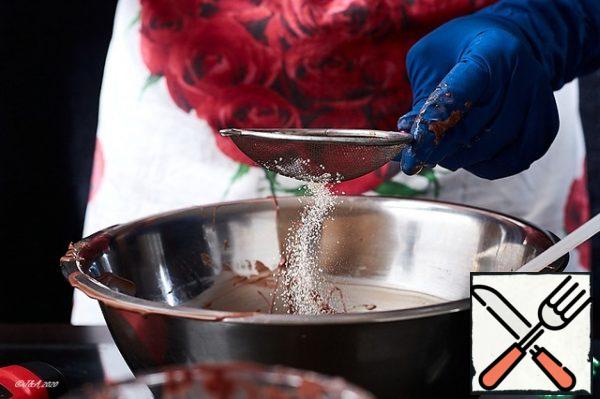
  4. Through a fine sieve, sift the cocoa butter into the chocolate, brought to the desired temperature. This is cocoa butter in powder form. The proportion of 1% of the mass of chocolate in a bowl. It took about 220-250 g for 2 eggs, until the hand is full, a lot of chocolate goes away, you gradually get used to it and it becomes easier to adjust the thickness of the walls and the rate of solidification. Although we take a maximum of 250 g, which means that we need 2.5 cocoa, and to be sure, 3 g, it's also better to take a little more, it's more reliable.
    Through a fine sieve, sift the cocoa butter into the chocolate, brought to the desired temperature. This is cocoa butter in powder form. The proportion of 1% of the mass of chocolate in a bowl. It took about 220-250 g for 2 eggs, until the hand is full, a lot of chocolate goes away, you gradually get used to it and it becomes easier to adjust the thickness of the walls and the rate of solidification. Although we take a maximum of 250 g, which means that we need 2.5 cocoa, and to be sure, 3 g, it's also better to take a little more, it's more reliable.
  5. Stir the cocoa with vigorous rubbing movements until it is completely dissolved. Perform a tempering test. Dip a cold knife or the tip of a spatula into the mass and set aside. if the chocolate has become opaque after 1.5 minutes and there are no traces of touching the lips (do not kiss it for too long, it may not stand), this means that it has reached the desired condition.
    Stir the cocoa with vigorous rubbing movements until it is completely dissolved. Perform a tempering test. Dip a cold knife or the tip of a spatula into the mass and set aside. if the chocolate has become opaque after 1.5 minutes and there are no traces of touching the lips (do not kiss it for too long, it may not stand), this means that it has reached the desired condition.
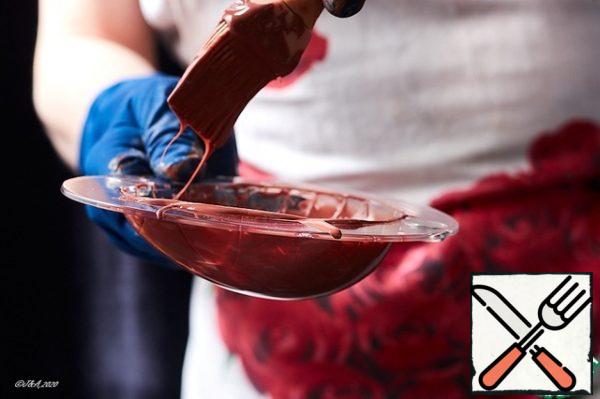
  6. Thoroughly wash and wipe the polycarbonate chocolate molds with lint-free napkins. Apply the chocolate either with a brush or pour it inside the mold and shake vigorously along the walls. The ideal thickness of the shell of this size (10 mm * 7 mm) is 1.5-2 mm. It won't work the first time, but it's a matter of technique. Pour the excess into the bowl of the slow cooker, we will need them, we will pickle them again for the next one.
    Thoroughly wash and wipe the polycarbonate chocolate molds with lint-free napkins. Apply the chocolate either with a brush or pour it inside the mold and shake vigorously along the walls. The ideal thickness of the shell of this size (10 mm * 7 mm) is 1.5-2 mm. It won't work the first time, but it's a matter of technique. Pour the excess into the bowl of the slow cooker, we will need them, we will pickle them again for the next one.
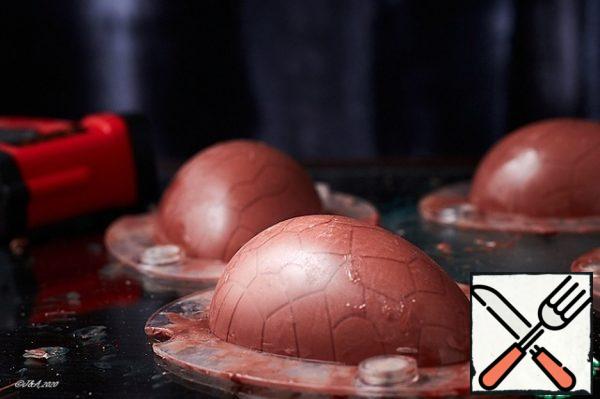
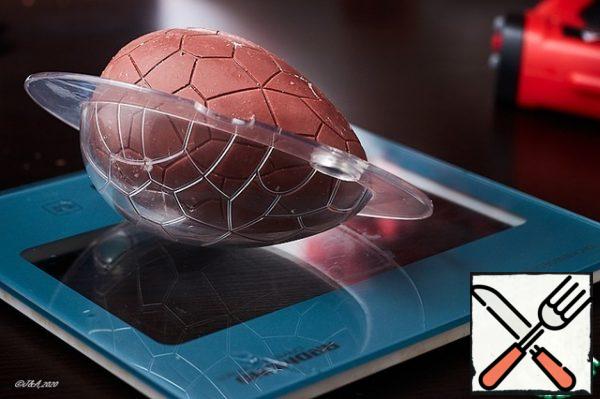
  7. I put a glass on the table (the cool pros have a marble slab, but I don't need it), it keeps the temperature well (it's cold here, 20 * C). Turn the molds over on it and let them stand until ready. Readiness is easy to determine - it will move away from the walls, you will see a gap. The colder the room, the faster it will happen.
    I put a glass on the table (the cool pros have a marble slab, but I don't need it), it keeps the temperature well (it's cold here, 20 * C). Turn the molds over on it and let them stand until ready. Readiness is easy to determine - it will move away from the walls, you will see a gap. The colder the room, the faster it will happen.
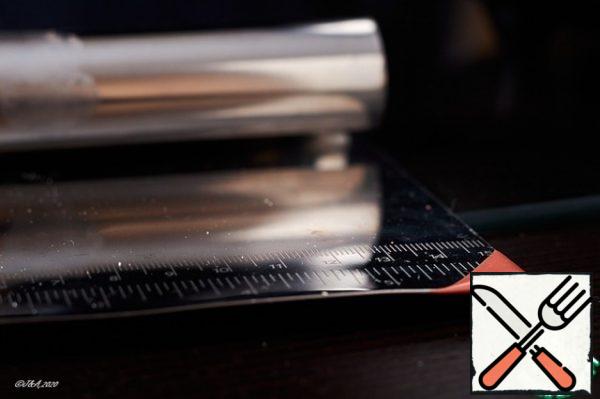
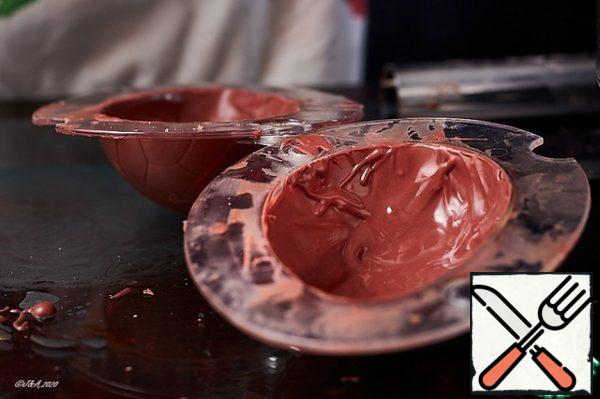
  8. Gently scrape off the mold with a spatula in case the drops stick to the mold. It is better to do this while the chocolate is not frozen, but also after you need it. Turn it over again and lightly tap the shape with a spatula so that the chocolate spills out.
    Gently scrape off the mold with a spatula in case the drops stick to the mold. It is better to do this while the chocolate is not frozen, but also after you need it. Turn it over again and lightly tap the shape with a spatula so that the chocolate spills out.
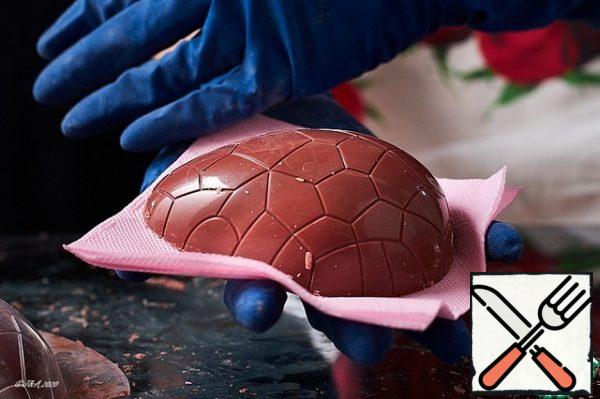
  9. That's how it will be, shiny, durable. My hands are very hot, so I work with gloves. Ordinary nitrile ones will do. I had seven eggs. It can be stored in napkins in a container with an airtight lid at a temperature of 18-20 * C. It is undesirable to store in the refrigerator, it may turn gray from sudden changes. But if it's hot, it's better to put it in the refrigerator.
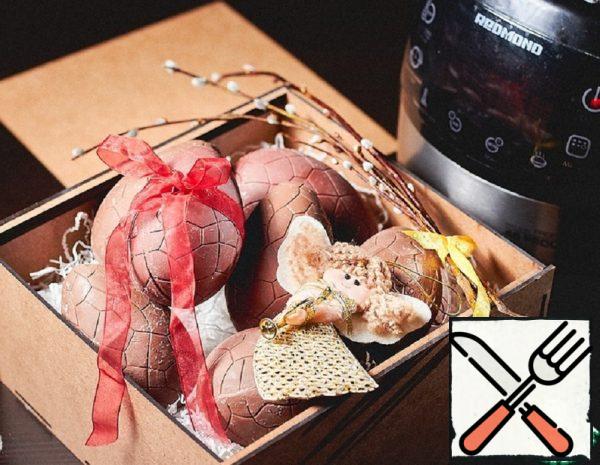
    That's how it will be, shiny, durable. My hands are very hot, so I work with gloves. Ordinary nitrile ones will do.
I had seven eggs. It can be stored in napkins in a container with an airtight lid at a temperature of 18-20 * C. It is undesirable to store in the refrigerator, it may turn gray from sudden changes. But if it's hot, it's better to put it in the refrigerator.
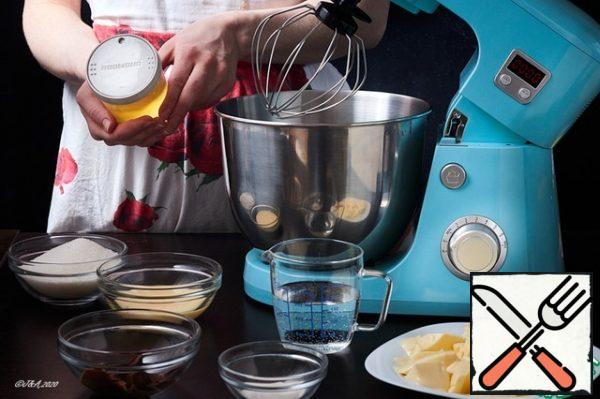
  10. Next, prepare the filling. We have this bird's milk, chocolate. Prepare the necessary ingredients. Proteins are conveniently stored in yogurt jars.
    Next, prepare the filling. We have this bird's milk, chocolate. Prepare the necessary ingredients. Proteins are conveniently stored in yogurt jars.
  11. Pour 70 g of protein into the bowl of the mixer.
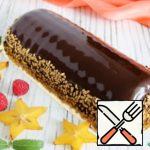
    Pour 70 g of protein into the bowl of the mixer.
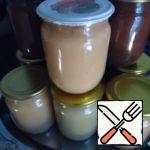
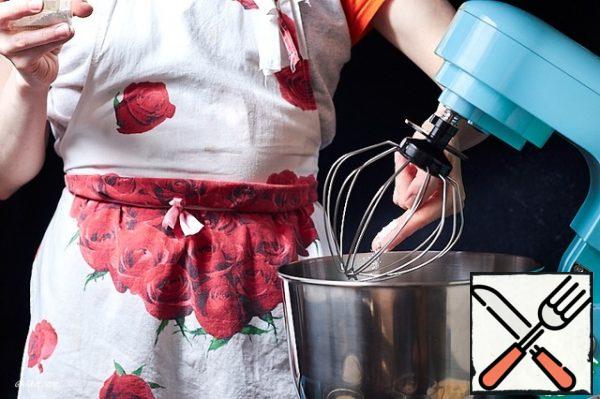
  12. Add a pinch of citric acid.
    Add a pinch of citric acid.
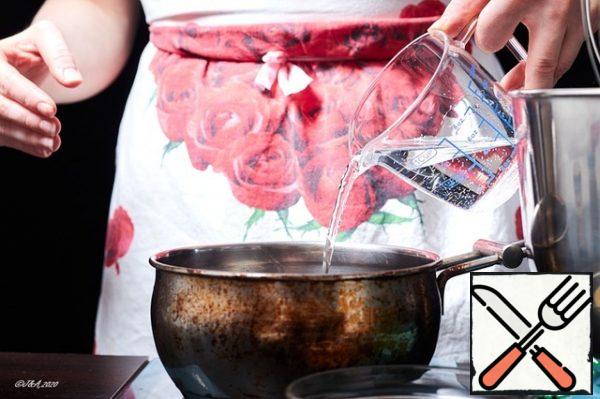
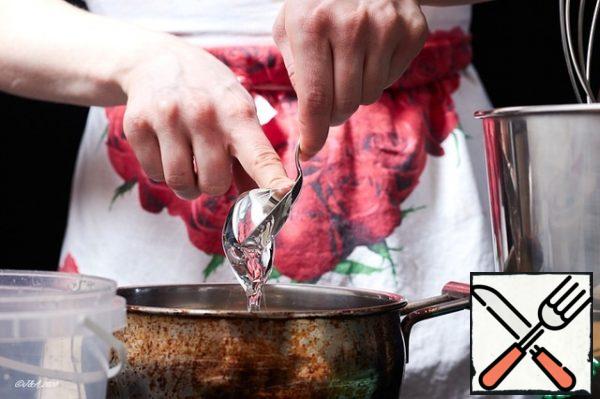
  13. Pour water into a bucket.
    Pour water into a bucket.
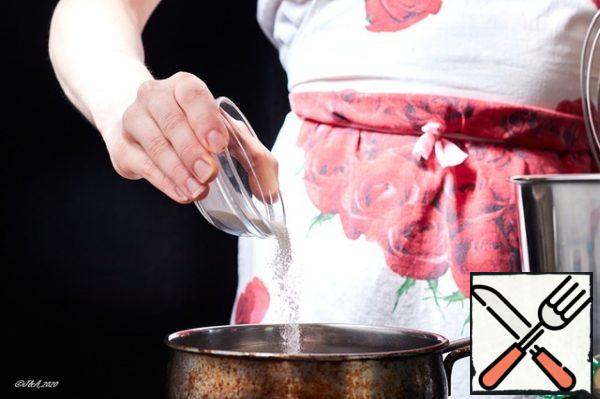
  14. Pour out the agar-agar.
    Pour out the agar-agar.
  15. Add glucose syrup and sugar.
    Add glucose syrup and sugar.
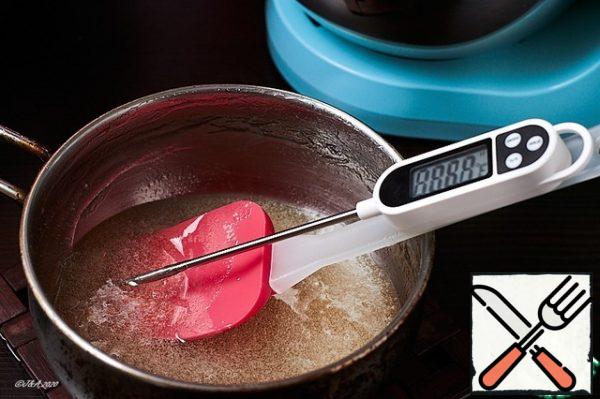
  16. Cook over medium heat to 110°C. When it reaches the desired temperature, remove from the heat and let cool to 80C, stirring occasionally so that a crust does not form.
    Cook over medium heat to 110°C. When it reaches the desired temperature, remove from the heat and let cool to 80C, stirring occasionally so that a crust does not form.
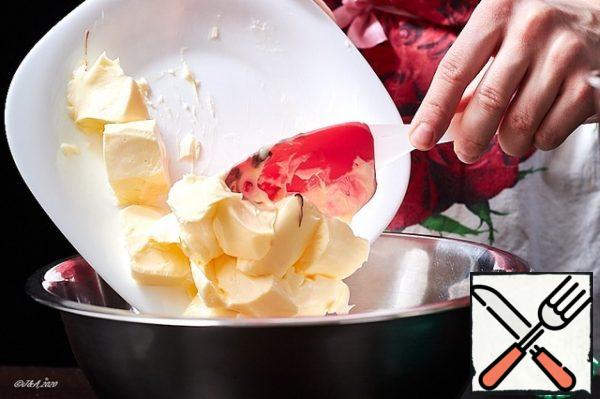
  17. Bring the butter to a soft state.
    Bring the butter to a soft state.
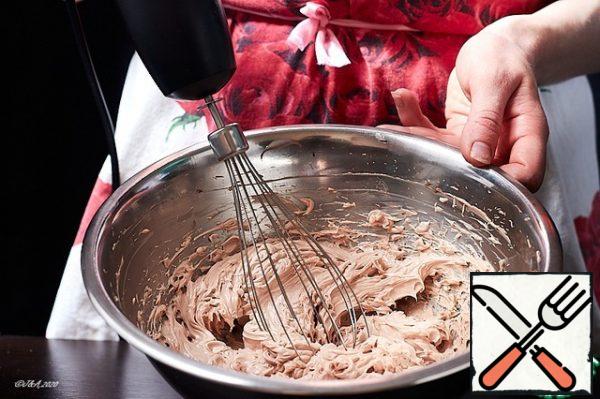
  18. Add condensed milk and Nutella paste (or any other to taste). Whisk with a blender into a homogeneous mass of soft cream.
    Add condensed milk and Nutella paste (or any other to taste). Whisk with a blender into a homogeneous mass of soft cream.
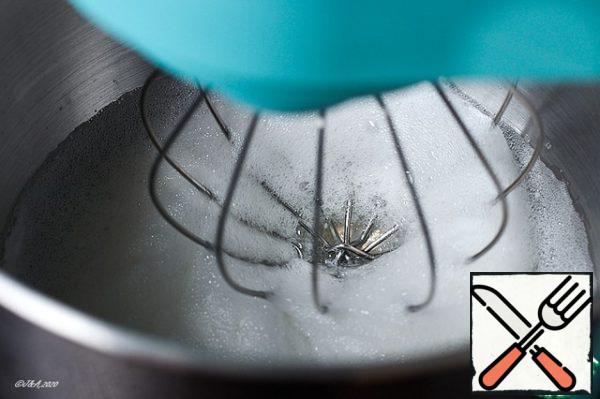
  19. Whisk the protein with the acid into a fluffy foam until all the liquid protein disappears.
    Whisk the protein with the acid into a fluffy foam until all the liquid protein disappears.
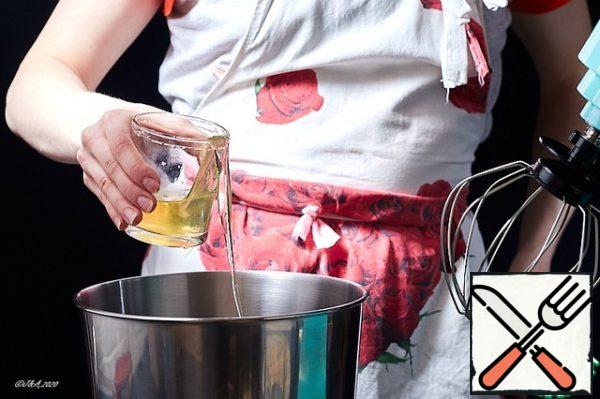
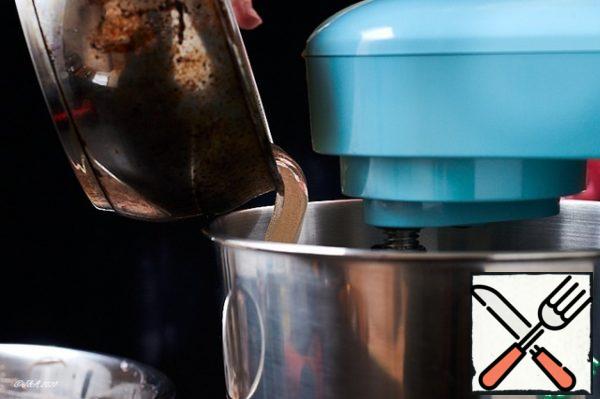
  20. Pour the syrup in a neat thin trickle into the proteins, whisk until the mass becomes glossy and the temperature drops to 35 ° C, measure with a pyrometer, directing the beam to the center of the mass.
    Pour the syrup in a neat thin trickle into the proteins, whisk until the mass becomes glossy and the temperature drops to 35 ° C, measure with a pyrometer, directing the beam to the center of the mass.
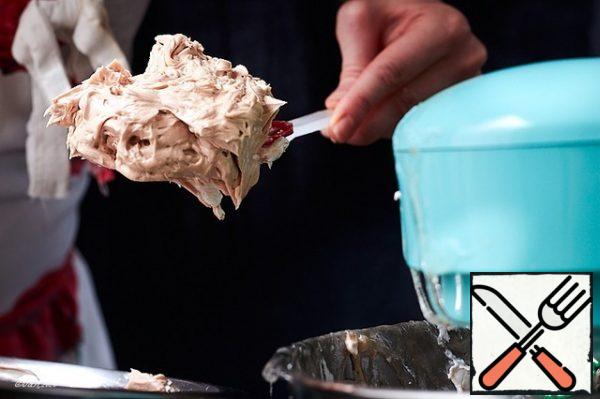
  21. Add a spoonful of chocolate cream.
    Add a spoonful of chocolate cream.
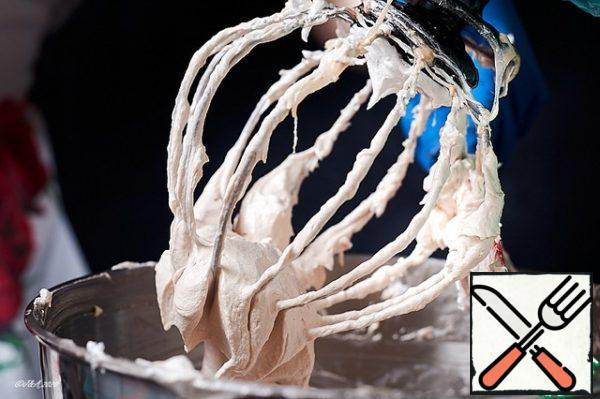
  22. Continue whipping until a completely homogeneous mass is obtained and until the mass cools down to a temperature of 22 ° C.
    Continue whipping until a completely homogeneous mass is obtained and until the mass cools down to a temperature of 22 ° C.
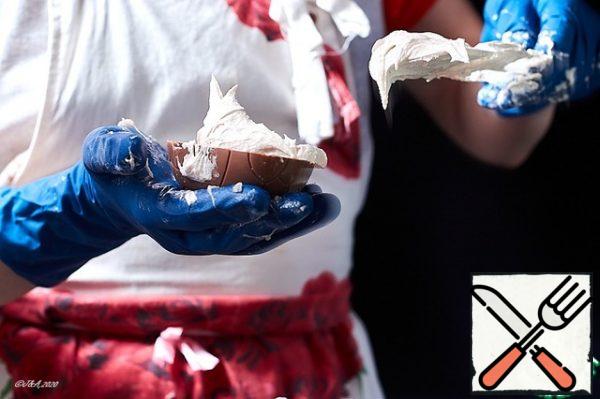
  23. Carefully pour the egg halves with bird's milk.
    Carefully pour the egg halves with bird's milk.
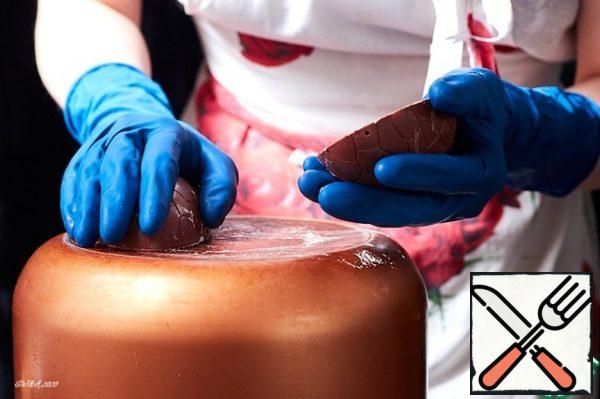
  24. Carefully place the egg halves on the bottom of the multivark bowl heated to 35 ° C and, when they melt, glue them together.
    Carefully place the egg halves on the bottom of the multivark bowl heated to 35 ° C and, when they melt, glue them together.
  25. For reliability, put the egg in half of the mold seam up and leave in a cool place.
    For reliability, put the egg in half of the mold seam up and leave in a cool place.
  26. Put the finished eggs in a gift box. You can see how different colored shells are from just milk ones.
    Put the finished eggs in a gift box. You can see how different colored shells are from just milk ones.
  27. A perfect gift for your loved ones.
    A perfect gift for your loved ones.
0 0 votes
Article Rating
Subscribe
Notify of
guest
0 Comments
Oldest
Newest Most Voted
Inline Feedbacks
View all comments