Print Recipe
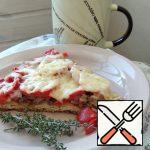
Homemade Classic Pizza in the Oven With Sausage
Delicious, homemade, on a thin air dough - fly in! Instead of the usual sandwich, it is much more pleasant to eat a piece of classic homemade pizza in the oven with sausage. Sausage in pizza is one of the most common classic fillings. Moreover, it is always in the refrigerator.
Prep Time 10 minutes
Cook Time 2 hours
Passive Time 1-1.5 hours
Servings
Ingredients
Ingredients:
For filling:
Prep Time 10 minutes
Cook Time 2 hours
Passive Time 1-1.5 hours
Servings
Ingredients
Ingredients:
For filling:
Instructions
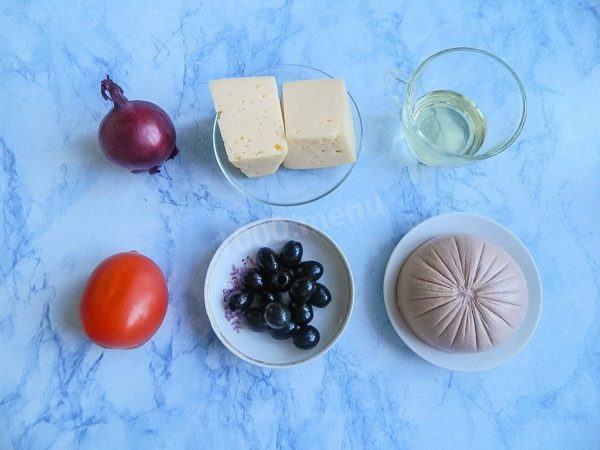
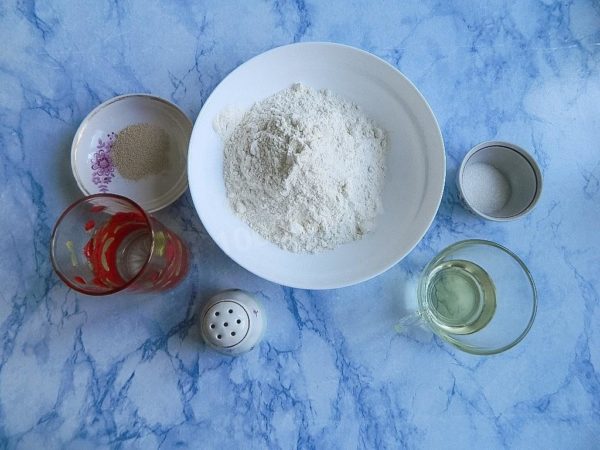
  1. Let's start by making a classic homemade oven-baked pizza with sausage and cheese. Begin by preparing all the necessary ingredients. While the classic pizza dough recipe calls for olive oil, you can use any other refined vegetable oil as a substitute. Opt for high-grade flour, and be sure to sift it to remove small impurities and allow it to become oxygenated, resulting in a well-risen and airy dough.
    Let's start by making a classic homemade oven-baked pizza with sausage and cheese. Begin by preparing all the necessary ingredients. While the classic pizza dough recipe calls for olive oil, you can use any other refined vegetable oil as a substitute. Opt for high-grade flour, and be sure to sift it to remove small impurities and allow it to become oxygenated, resulting in a well-risen and airy dough.
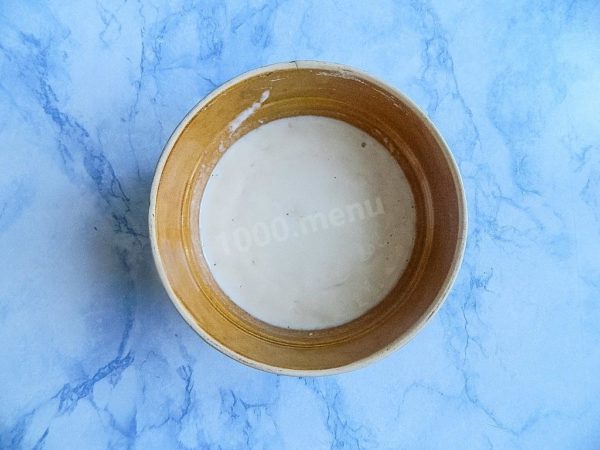
  2. In warm water (37-40°C), add sugar and yeast. Stir with a spoon until the sugar is completely dissolved. If you don't have a kitchen thermometer, you can gauge the temperature by dropping a small amount of water onto your inner wrist. If it feels neither cold nor hot, you've reached the correct temperature.
    In warm water (37-40°C), add sugar and yeast. Stir with a spoon until the sugar is completely dissolved. If you don't have a kitchen thermometer, you can gauge the temperature by dropping a small amount of water onto your inner wrist. If it feels neither cold nor hot, you've reached the correct temperature.
  3. If the temperature is too low, the yeast will work slowly and extend the cooking time. If it's too high, the yeast will die, and the dough won't rise. Add 2 tablespoons of flour, mix, and let it sit for 10 minutes. You can find detailed information about working with yeast in a separate article linked at the end of the recipe.
    If the temperature is too low, the yeast will work slowly and extend the cooking time. If it's too high, the yeast will die, and the dough won't rise. Add 2 tablespoons of flour, mix, and let it sit for 10 minutes. You can find detailed information about working with yeast in a separate article linked at the end of the recipe.
  4. If you see a fluffy cap on the surface, it means that the yeast has become active, and you can proceed with the cooking. If this doesn't happen, then you may need to replace the yeast. With inactive yeast, the dough won't work.
    If you see a fluffy cap on the surface, it means that the yeast has become active, and you can proceed with the cooking. If this doesn't happen, then you may need to replace the yeast. With inactive yeast, the dough won't work.
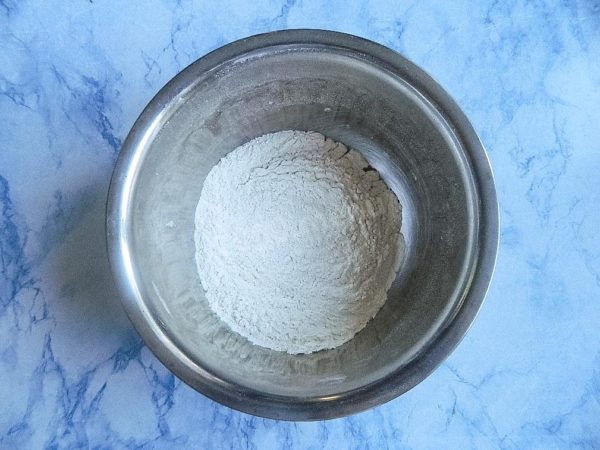
  5. To knead the dough, take a deep bowl that will be convenient for mixing both dry and liquid ingredients. Start by adding half of the flour and the salt. Mix them together to evenly distribute the salt. Create a well in the middle of the flour.
    To knead the dough, take a deep bowl that will be convenient for mixing both dry and liquid ingredients. Start by adding half of the flour and the salt. Mix them together to evenly distribute the salt. Create a well in the middle of the flour.
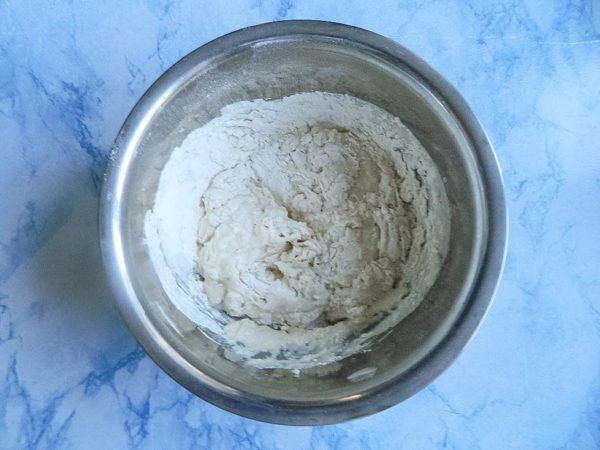
  6. Gradually add vegetable oil and the yeast mixture (dissolved in water) to the well in the flour. Always add the liquid to the dry ingredients, not the other way around, for the best results. Depending on the flour's characteristics, you may need to add flour in small portions to achieve the desired dough consistency. You can find more information about flour and its properties in a separate article linked at the end of the recipe.
    Gradually add vegetable oil and the yeast mixture (dissolved in water) to the well in the flour. Always add the liquid to the dry ingredients, not the other way around, for the best results. Depending on the flour's characteristics, you may need to add flour in small portions to achieve the desired dough consistency. You can find more information about flour and its properties in a separate article linked at the end of the recipe.
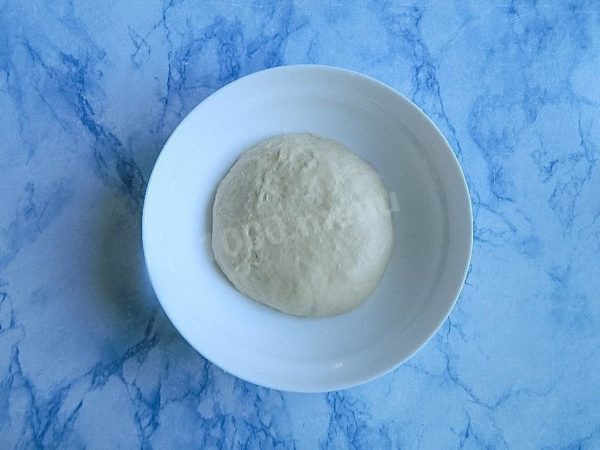
  7. When the dough becomes too thick to mix with a spoon, start kneading it with your hands. The dough should be soft and pliable but not stick to your hands. Grease the bottom and sides of the bowl with vegetable oil to prevent sticking. Also, knead the finished dough with your hands using a bit of butter. Cover the bowl with a napkin or towel to prevent drying and let it rise in a warm place for approximately 1-1.5 hours.
    When the dough becomes too thick to mix with a spoon, start kneading it with your hands. The dough should be soft and pliable but not stick to your hands. Grease the bottom and sides of the bowl with vegetable oil to prevent sticking. Also, knead the finished dough with your hands using a bit of butter. Cover the bowl with a napkin or towel to prevent drying and let it rise in a warm place for approximately 1-1.5 hours.
  8. About half an hour before cooking, preheat the oven to 200 degrees Celsius (392 degrees Fahrenheit). While the dough is rising, prepare the pizza toppings. Choose a cheese that melts well and your favorite sausage. Yellow onions work better than red ones, as they have a milder flavor and taste sweeter.
    About half an hour before cooking, preheat the oven to 200 degrees Celsius (392 degrees Fahrenheit). While the dough is rising, prepare the pizza toppings. Choose a cheese that melts well and your favorite sausage. Yellow onions work better than red ones, as they have a milder flavor and taste sweeter.
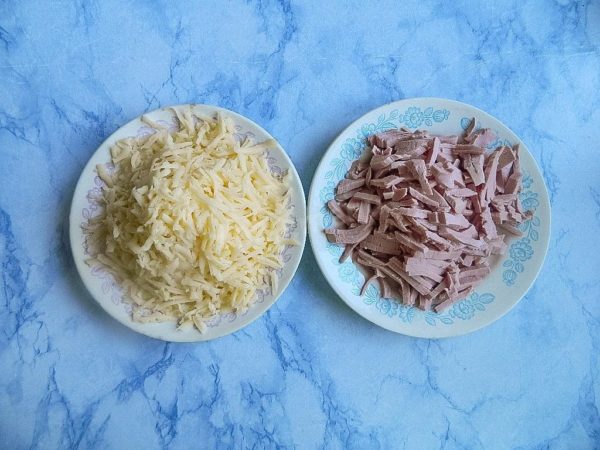
  9. Cut the sausage into strips, which is the standard slicing for homemade pizza. Grate the cheese coarsely.
    Cut the sausage into strips, which is the standard slicing for homemade pizza. Grate the cheese coarsely.
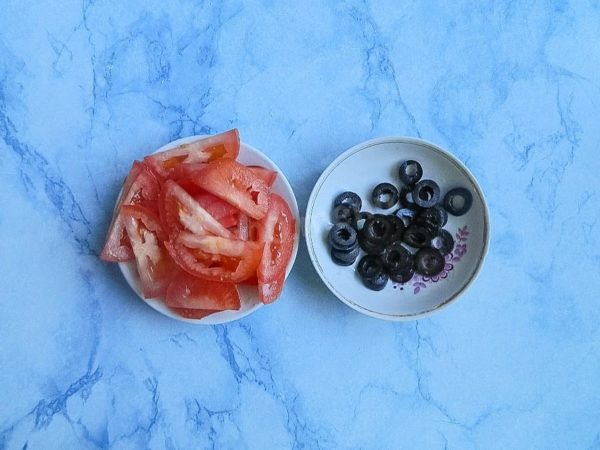
  10. Wash the tomato, pat it dry, remove the stem, and slice it thinly. Slice the olives into rings, ensuring you remove the pits for a neater appearance.
    Wash the tomato, pat it dry, remove the stem, and slice it thinly. Slice the olives into rings, ensuring you remove the pits for a neater appearance.
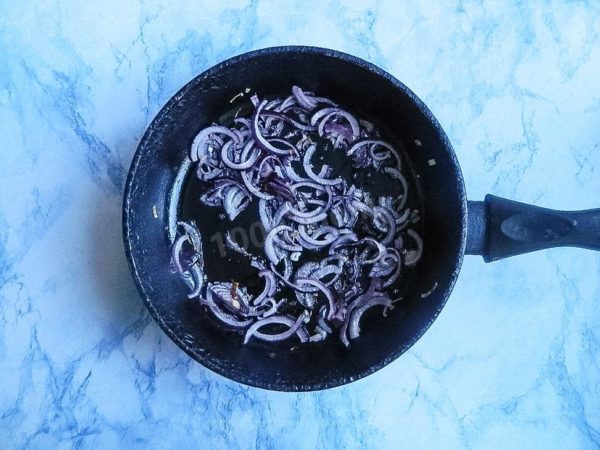
  11. Peel the onion, wash it, and cut it into half-rings. Heat a pan with oil and sauté the onion for about 3 minutes, stirring constantly. It should become slightly softened but not overly cooked. Allow it to cool completely.
    Peel the onion, wash it, and cut it into half-rings. Heat a pan with oil and sauté the onion for about 3 minutes, stirring constantly. It should become slightly softened but not overly cooked. Allow it to cool completely.
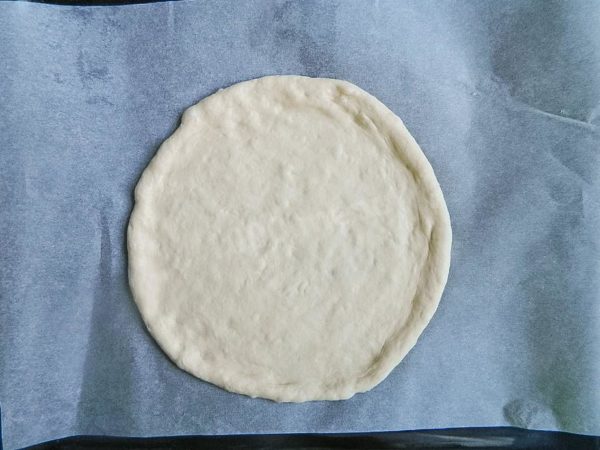
  12. By this time, the dough should have significantly increased in size. You can make either one large pizza or two smaller ones from this amount of dough. I'll be making two pizzas, each with a diameter of about 20 cm (8 inches). Use your hands to shape the dough into a round layer directly on parchment paper, leaving the edges thicker to form a rim. A separate article linked at the end of the recipe can provide more guidance on parchment paper selection.
    By this time, the dough should have significantly increased in size. You can make either one large pizza or two smaller ones from this amount of dough. I'll be making two pizzas, each with a diameter of about 20 cm (8 inches). Use your hands to shape the dough into a round layer directly on parchment paper, leaving the edges thicker to form a rim. A separate article linked at the end of the recipe can provide more guidance on parchment paper selection.
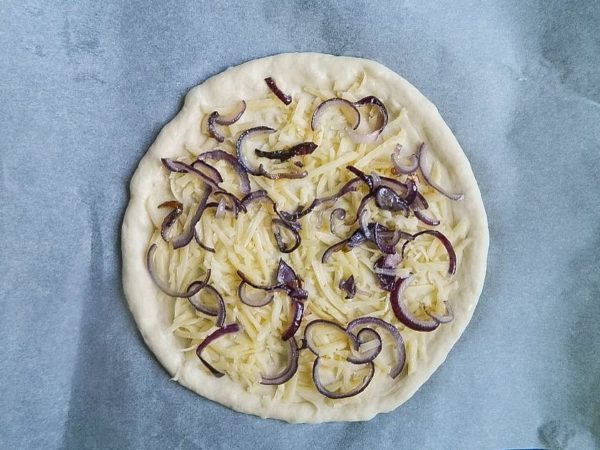
  13. Divide the toppings evenly between the two pizzas. Start with half of the cheese, followed by the sautéed onion.
    Divide the toppings evenly between the two pizzas. Start with half of the cheese, followed by the sautéed onion.
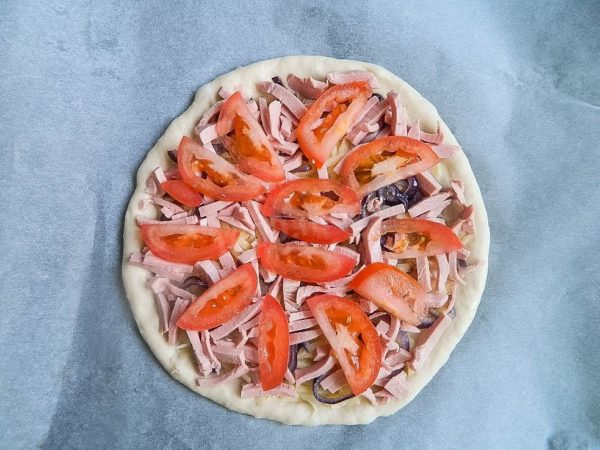
  14. Sprinkle the remaining cheese evenly and add the olives as the final topping. Bake for 15-20 minutes on a middle oven rack at 200 degrees Celsius (392 degrees Fahrenheit) using both top and bottom heating elements. Cooking times may vary depending on your oven, so check for readiness. In a finished pizza, the dough will rise and turn slightly golden. When gently pressed with the palm of your hand, the dough should not give. You can learn more about oven features in a separate article linked at the end of the recipe. Enjoy your homemade pizza!Add the sliced sausage on top of the onion, followed by the tomato slices.
    Sprinkle the remaining cheese evenly and add the olives as the final topping. Bake for 15-20 minutes on a middle oven rack at 200 degrees Celsius (392 degrees Fahrenheit) using both top and bottom heating elements. Cooking times may vary depending on your oven, so check for readiness. In a finished pizza, the dough will rise and turn slightly golden. When gently pressed with the palm of your hand, the dough should not give. You can learn more about oven features in a separate article linked at the end of the recipe. Enjoy your homemade pizza!Add the sliced sausage on top of the onion, followed by the tomato slices.
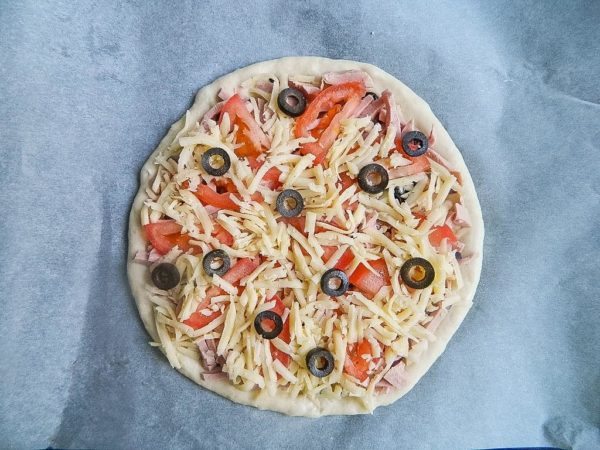
  15. Sprinkle the remaining cheese evenly and add the olives as the final topping. Bake for 15-20 minutes on a middle oven rack at 200 degrees Celsius (392 degrees Fahrenheit) using both top and bottom heating elements. Cooking times may vary depending on your oven, so check for readiness. In a finished pizza, the dough will rise and turn slightly golden. When gently pressed with the palm of your hand, the dough should not give. Enjoy your homemade pizza!
    Sprinkle the remaining cheese evenly and add the olives as the final topping. Bake for 15-20 minutes on a middle oven rack at 200 degrees Celsius (392 degrees Fahrenheit) using both top and bottom heating elements. Cooking times may vary depending on your oven, so check for readiness. In a finished pizza, the dough will rise and turn slightly golden. When gently pressed with the palm of your hand, the dough should not give. Enjoy your homemade pizza!
Recipe Notes

Do the same with the second pizza. Feel free to customize the layering sequence in the toppings to your preference.

As an experiment, I decided to add ketchup to the second pizza. I spread it over the dough. This single ingredient variation resulted in a pizza with a different but equally intriguing flavor.

Enjoy your meal!

Keep in mind that you may require more or less flour than specified in the recipe. Focus on achieving the desired dough consistency rather than fixating on the exact amount of flour.

Please note that individual ovens vary. Therefore, the temperature and cooking time may differ from what's indicated in the recipe.

Important tip: Learn how to properly substitute dry yeast with fresh yeast and determine the ideal liquid for dilution.

Lastly, remember that the choice of parchment paper is just as crucial as selecting the ingredients for the recipe.

0 0 votes
Article Rating
Subscribe
Notify of
guest
0 Comments
Inline Feedbacks
View all comments