Print Recipe
Cheesecakes-Donuts and Not Only Recipe
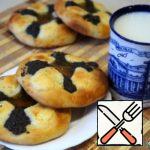
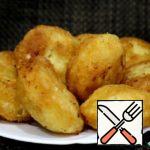
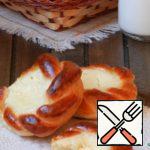
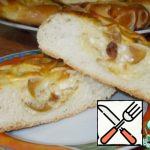
Cooking these buns is very simple. Very delicate and lush. They were cooked by my grandmother, and now I'm cooking them. This recipe is a godsend for those who love baking.
Cook Time 240 minutes
Servings
Ingredients
Cook Time 240 minutes
Servings
Ingredients
Instructions
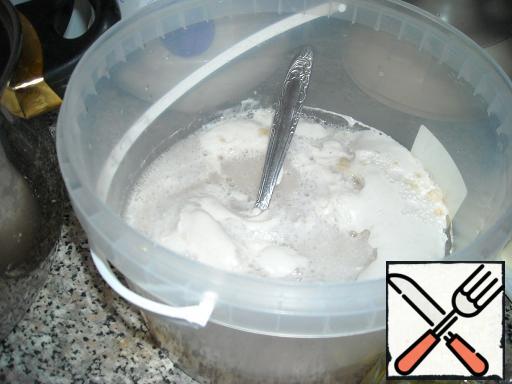
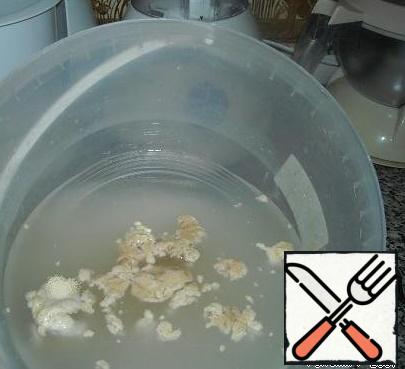
  1. To begin with, I always dilute yeast in warm water with added sugar (8 tablespoons). Sometimes the date is good, the yeast was old, then I ruthlessly threw it away. You won't get good baking from such yeast.
    To begin with, I always dilute yeast in warm water with added sugar (8 tablespoons). Sometimes the date is good, the yeast was old, then I ruthlessly threw it away. You won't get good baking from such yeast.
  2. Good (fresh) yeast rises after 15 minutes.
    Good (fresh) yeast rises after 15 minutes.
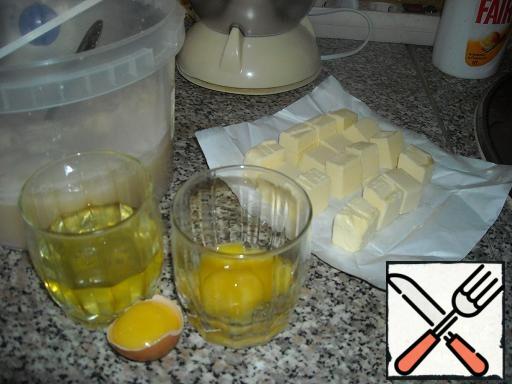
  3. Then separate the whites from the yolks (3 whole eggs + whites from 3 eggs go into the dough).
    Then separate the whites from the yolks (3 whole eggs + whites from 3 eggs go into the dough).
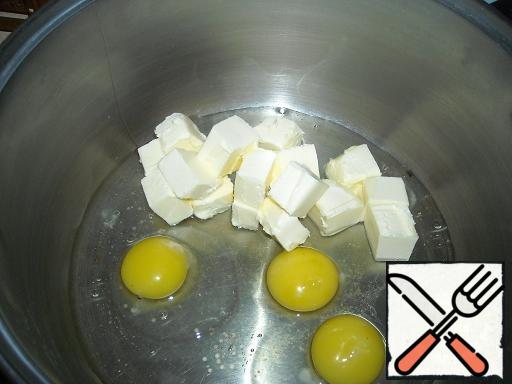
  4. Eggs, mashed butter (a pack of 180 grams, it is better to smear it, as it will melt instantly) and pour the yeast that has come up into a large saucepan (I have 7 liters)
    Eggs, mashed butter (a pack of 180 grams, it is better to smear it, as it will melt instantly) and pour the yeast that has come up into a large saucepan (I have 7 liters)
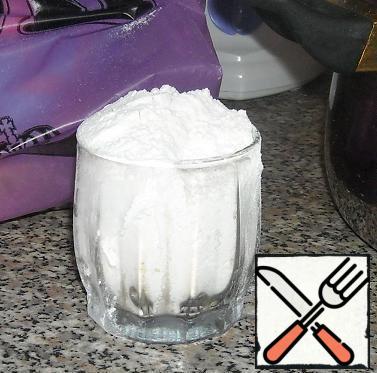
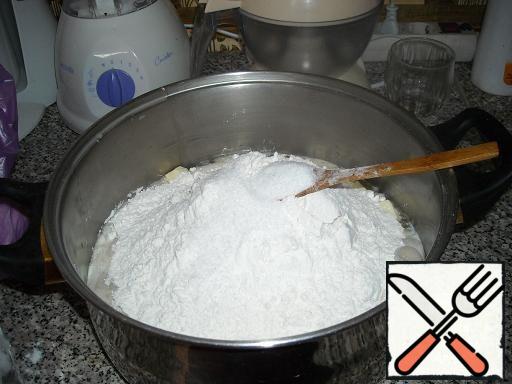
  5. There is so much flour in the dough that for 16 such glasses (only 2 kg 100 gr). In one glass 150 gr.
    There is so much flour in the dough that for 16 such glasses (only 2 kg 100 gr). In one glass 150 gr.
  6. Yeast was diluted in 700 ml of warm water. Add salt at the very end of the flour bookmark (salt will quickly "eat" yeast). Salt - 2 tablespoons with a slide.
    Yeast was diluted in 700 ml of warm water. Add salt at the very end of the flour bookmark (salt will quickly "eat" yeast).
Salt - 2 tablespoons with a slide.
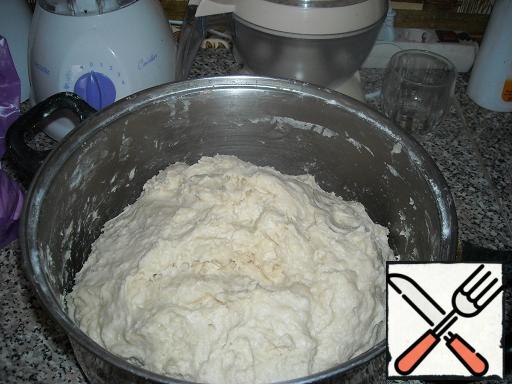
  7. And we begin to knead the dough. Knead it until it starts to lag well behind the walls of the dishes and come off the hands (if necessary, you can add more flour, but very little). It doesn't have to be cool! This moment is very important! Otherwise, the dough will be badly stratified or will be "faded"! And by the time the dough is ready, knead it with your hands, as Natalia taught, to the third pot! It's about 20 minutes.
    And we begin to knead the dough. Knead it until it starts to lag well behind the walls of the dishes and come off the hands (if necessary, you can add more flour, but very little). It doesn't have to be cool! This moment is very important! Otherwise, the dough will be badly stratified or will be "faded"! And by the time the dough is ready, knead it with your hands, as Natalia taught, to the third pot! It's about 20 minutes.
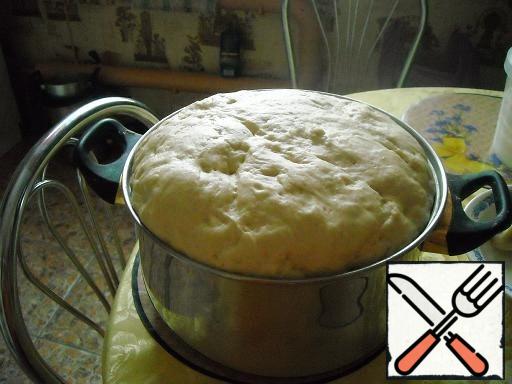
  8. Knead the dough, put it in a warm place for 1 hour. After 30 minutes, he has risen very well, and we will push him. This is done in order to remove excess air from it.
    Knead the dough, put it in a warm place for 1 hour.
After 30 minutes, he has risen very well, and we will push him. This is done in order to remove excess air from it.
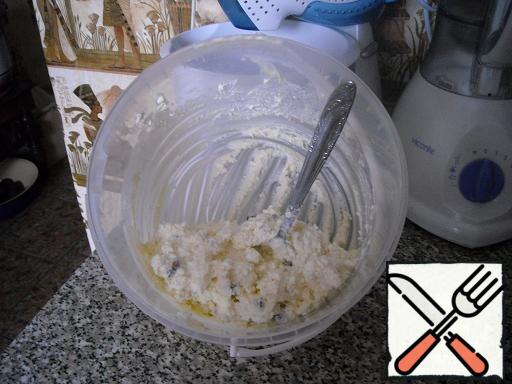
  9. Meanwhile, we are preparing a filling for cheesecakes - cottage cheese. We had 1 package of ordinary cottage cheese and 2 packages of cottage cheese with raisins and dried apricots + 1 egg. We break all this well with a fork and also put it in a very warm place (the cottage cheese will warm up and it will be easy to spread on the dough)
    Meanwhile, we are preparing a filling for cheesecakes - cottage cheese. We had 1 package of ordinary cottage cheese and 2 packages of cottage cheese with raisins and dried apricots + 1 egg. We break all this well with a fork and also put it in a very warm place (the cottage cheese will warm up and it will be easy to spread on the dough)
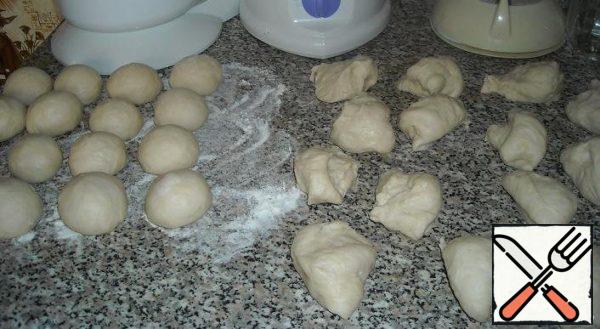
  10. An hour after kneading, the dough finally came up (it took only 1 hour), and we cut it up. Everyone cuts the way he wants and knows how, we twist the balls. The dough, well mixed and coming up, makes such a characteristic sound that it seems as if it creaks!
    An hour after kneading, the dough finally came up (it took only 1 hour), and we cut it up. Everyone cuts the way he wants and knows how, we twist the balls. The dough, well mixed and coming up, makes such a characteristic sound that it seems as if it creaks!
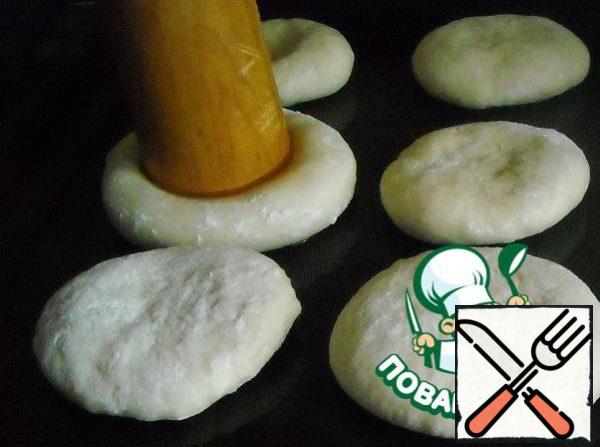
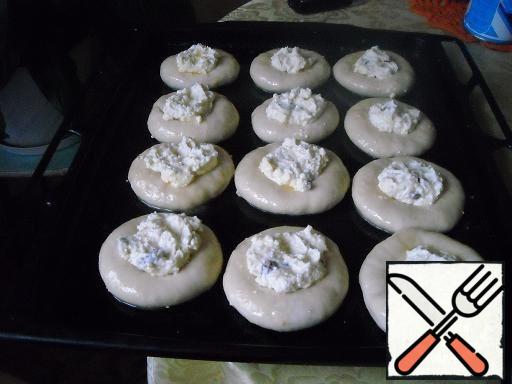
  11. Then press each ball of dough with your hand and immediately put it on a greased baking sheet. Make the recess for the filling in the cheesecake with a regular cup.
    Then press each ball of dough with your hand and immediately put it on a greased baking sheet. Make the recess for the filling in the cheesecake with a regular cup.
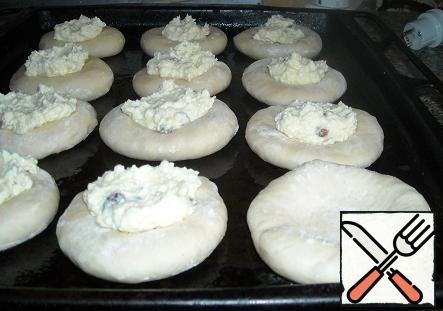
  12. We spread the curd mass with a slide (repeat, the curd should turn out warm, soft)
    We spread the curd mass with a slide (repeat, the curd should turn out warm, soft)
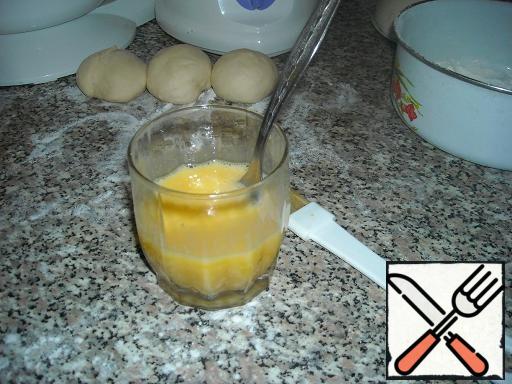
  13. Distribute the filling, then whisk the 3 egg yolks with a fork with a small amount of vanilla sugar.
    Distribute the filling, then whisk the 3 egg yolks with a fork with a small amount of vanilla sugar.
  14. And grease the cheesecake (they stood there for about 10 minutes). In any case, do not lubricate the dough immediately before sending it to the oven - sit down! Tested! And put the baking sheet in the oven.
    And grease the cheesecake (they stood there for about 10 minutes). In any case, do not lubricate the dough immediately before sending it to the oven - sit down! Tested! And put the baking sheet in the oven.
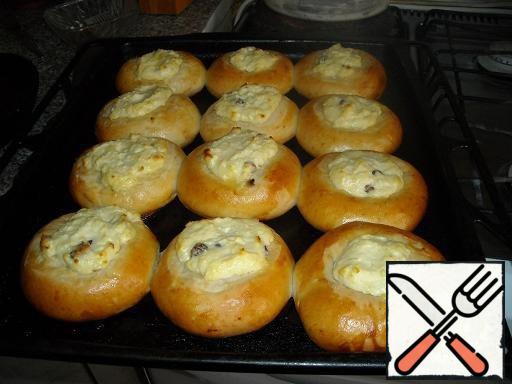
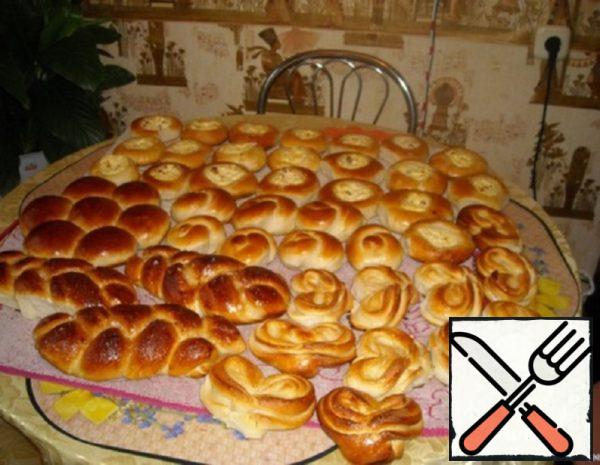
  15. Here are the first cheesecakes!
    Here are the first cheesecakes!
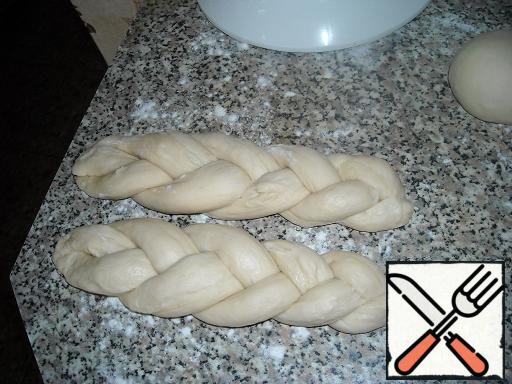
  16. And then everything is different: braids-pigtails.
    And then everything is different: braids-pigtails.
  17. Chamomile.
    Chamomile.
  18. And buns with sugar sprinkles. If the pastry starts to burn, immediately put a baking sheet or a frying pan with cold water in the oven. The water immediately begins to boil, and the steam does not burn to the dough! After baking, the bottom of the cheesecake should turn out like this. Enjoy your meal.
    And buns with sugar sprinkles.
If the pastry starts to burn, immediately put a baking sheet or a frying pan with cold water in the oven. The water immediately begins to boil, and the steam does not burn to the dough!
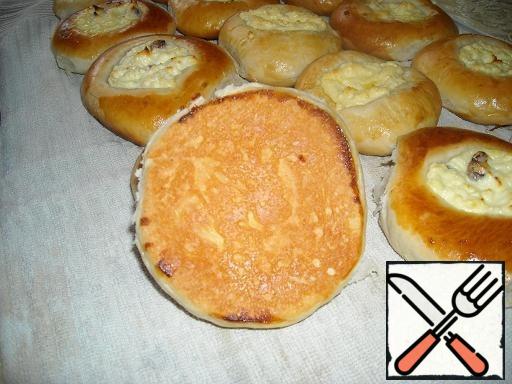
After baking, the bottom of the cheesecake should turn out like this.
Enjoy your meal.
0 0 votes
Article Rating
Subscribe
Notify of
guest
0 Comments
Oldest
Newest Most Voted
Inline Feedbacks
View all comments